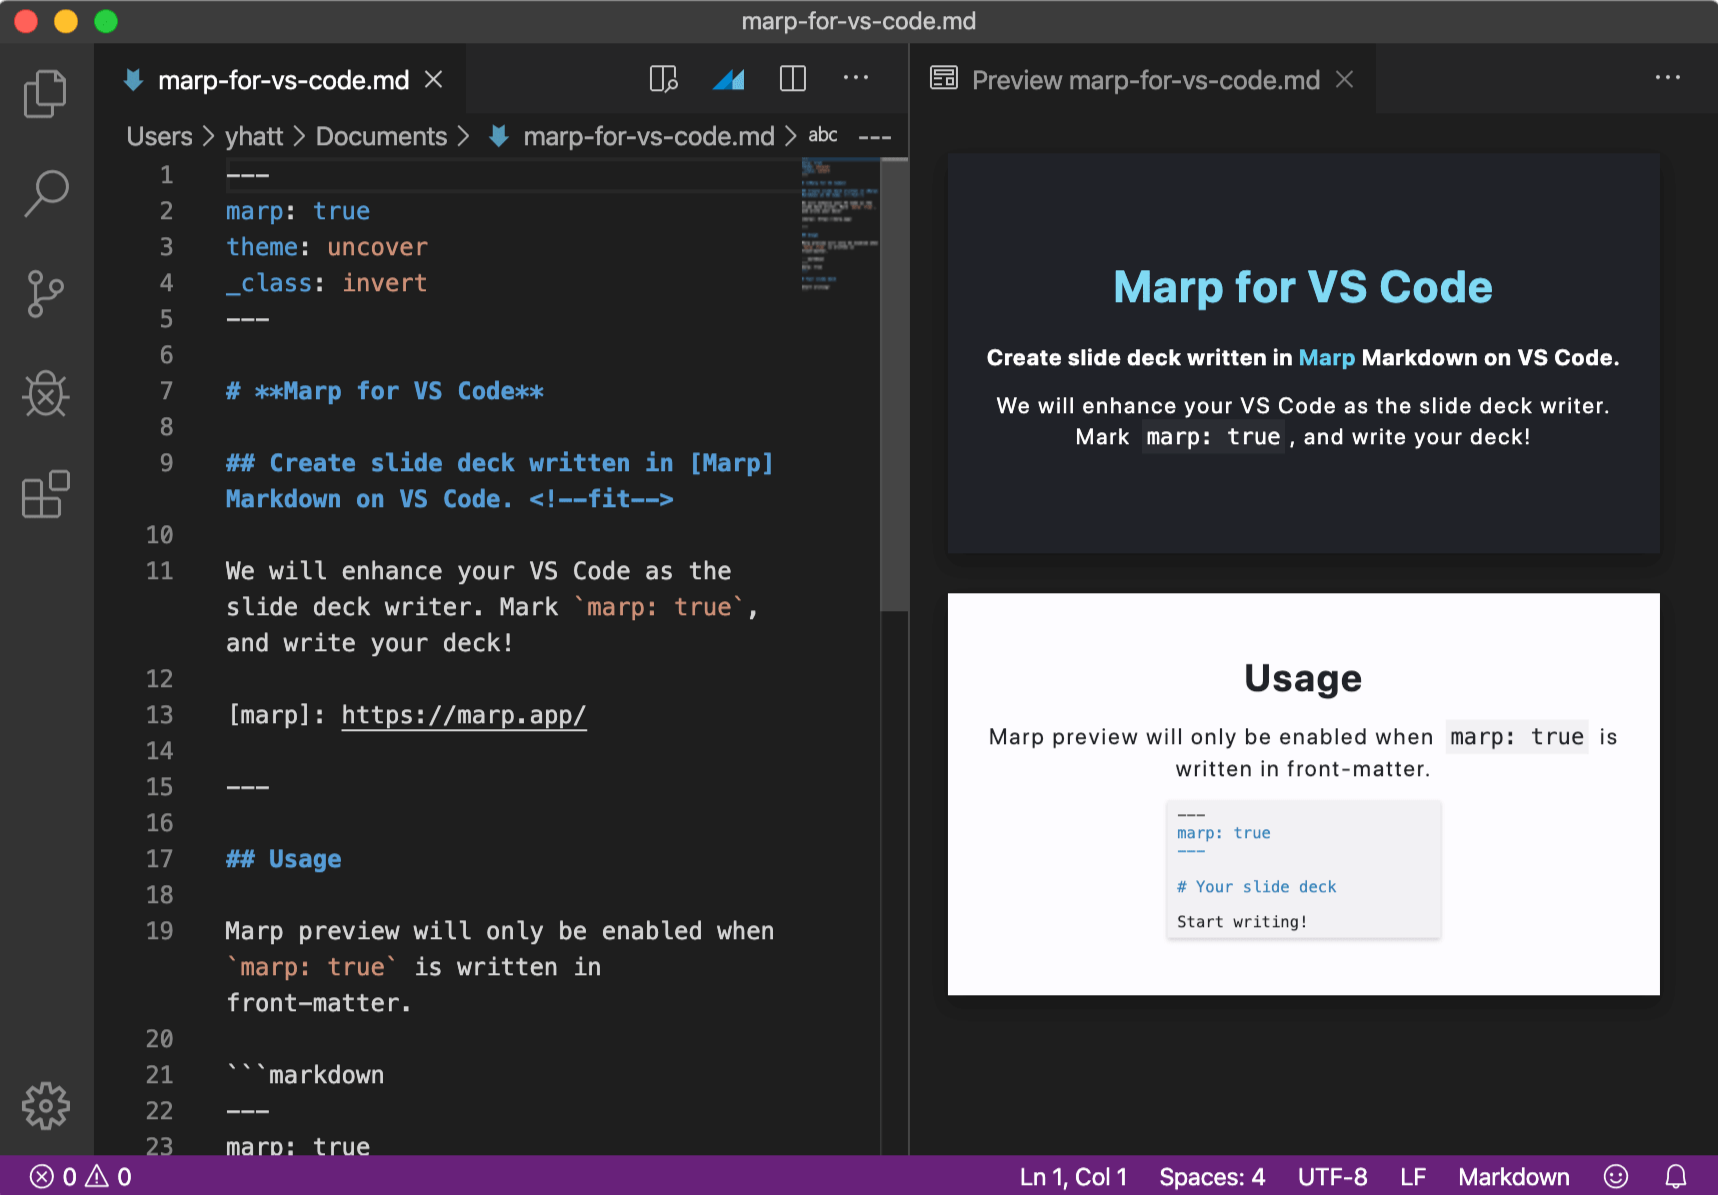
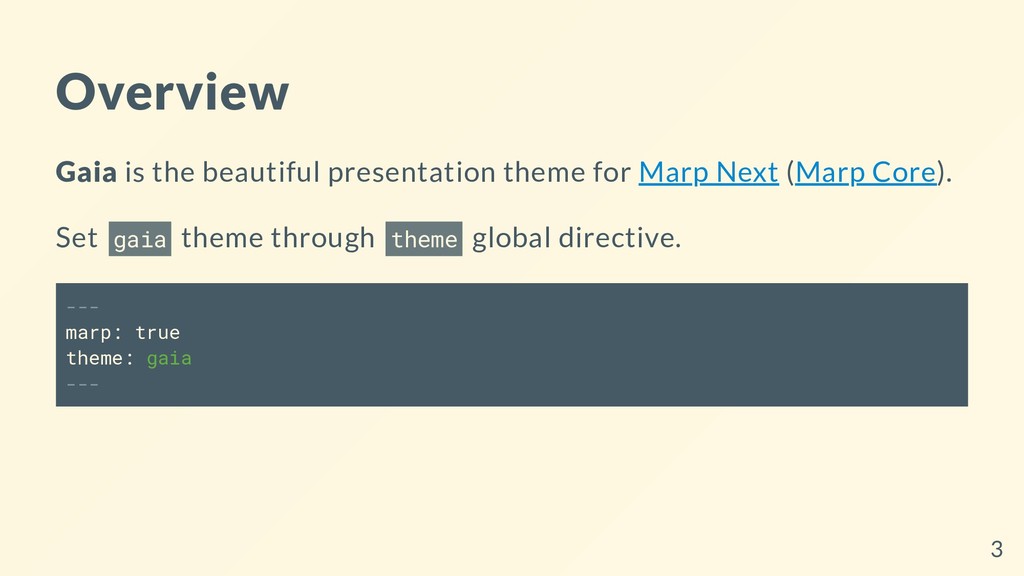
First of all… what is Marp?
Marp is a tool for creating visually appealing presentations. It is developed by Yuki Hattori. As a differential trait, Marp uses Markdown—a lightweight, plain text markup language known for being easy to read and write.
Markdown’s straightforward syntax has made it popular among writers and developers for producing content that is both structured and readable. Marp builds on this simplicity, transforming Markdown into professional-looking slides with minimal effort.
With Marp, the focus moves towards the content, writing it in plain text with basic Markdown commands, without the distraction of complex design tools.
How to install and use Marp
There are several ways to install and use Marp. The one I use is the Marp extension for Visual Studio Code. This extension allows you to create, preview and export Marp presentations directly without leaving the VS Code editor.
To install the Marp extension, follow these steps:
- Open Visual Studio Code (if you don’t have it installed, you can download it from here).
- Go to the Extensions view and earch for “Marp” in the Extensions view search box.
- Click on the “Install” button to install the extension.

Four simple steps to create a Marp presentation
Let’s start with a simple example to show you how easy it is to create a Marp presentation, focusing for the moment only on the content.
1. Create the Markdown file
Once the extension is installed, you can jump up into creating Marp presentations by initializing a new Markdown file. You can do this by creating a new file with the .md extension. If it is the first time you are using Visual Studio Code, it will ask you to install the recommended extensions for Markdown highlighting and previewing, so you can easy identify titles, links and other features of the Markdown syntax.
2. Enable Marp and start writing
To enable Marp in the Markdown file, you need to add marp: true at the beginning of the file, wrapped in three dashes. Then, you can start writing your presentation using Markdown. This guide provides a detailed explanation of the basic syntax. You could start, for example, with the following code:
| |
You can see also the use of the headingDivider directive in the preamble, which allows you to separate the slides by the number of # characters in the headings. Otherwise you could use the --- separator to separate the slides.
3. Preview the content
You can preview what you are writing at every moment. To do so, just click on the Open Preview to the Side button in the top right corner of the editor.
4. Export the presentation
Finally, to export the presentation, click on the Show Quick Pick of Marp Commands button in the top right corner of the editor and select Export slide deck. You can choose between several formats, such as PDF, PNG, PowerPoint or HTML.
Working with images
So far, we have only used text to create the slides. However, we all know that a picture is worth a thousand words. Therefore, we will learn now how to add images to our presentation, as well as how to customize them to our needs.
Adding an image
To add an image to a slide, you can use the following syntax:
| |
The path to the image can be either an absolute path or a relative path to the Markdown file. On the other hand, the Alt text label is the text that will be displayed if the image cannot be loaded.
If you don’t want to write paths, you are lucky because Visual Studio Code allows you to drag and drop the image into the editor, which will automatically copy the image in your working directory.
Finally, you could also use a URL to an image hosted on the internet, like that:
| |
Customizing the image
In Marp, you can include keywords in the Alt text label to customize the image. The complete list of directives can be found here. Here are the most common ones:
Change the size of the image
With the following keywords, you can change the size of the image, specifying the width and/or height in pixels. Here are some examples:
- Width:
 - Height:
 - Width and height:

The aspect ratio is maintained if only one of the dimensions is specified.
Set image as background
To set the image as the background of the whole slide, you can use the following structure:
| |
Additionally, you can resize the image with the following keywords:
bg fit: Scale the image to fit the slide.bg auto: Use the original size of the image.bg 150%: Scale the image by the specified percentage.
On the other hand, you can create a split background with the following syntax:
| |

This will set the image as the background of the left half of the slide. You can also use bg right to set the image as the background of the right half of the slide. To specify the size, add the percentage after the keywords, for instance, bg rifht:33%.
Apply a filter
You can apply CSS filters to modify the appearance of the image. The following filters are available: blur, brightness, contrast, drop-shadow. grayscale, hue-rotate, invert, opacity, saturate and sepia. Multiple filters can be applyed as well:
| |
Customize your presentation with a CSS theme
On the previous sections, the examples were based on the default Marp theme. However, Marp allows you to customize the appearance of your presentation by using CSS themes, similarly to how you would do it with a website.
Use a built-in theme
Marp comes with a set of built-in themes. To use one of these, you need to add the theme directive, specifying the name of the theme. For isntance:
| |

Use an external theme
To use external themes, you must configure Visual Studio Code to recognize the CSS files:
- Go to the settings by clicking on the gear icon in the lower left corner of the window.
- Search for
marp themesin the search box. - In the
Marp: Themessection, add the path to the CSS file you want to use. For example, if you have a CSS file namedstyle.cssin the same directory as the Markdown file, you should add./style.cssfor Visual Studio Code to recognize it.
Once you have configured Visual Studio Code to recognize the CSS file, you can download the CSS file from the internet. Here you have a collection of themes created by the Marp community.
Then, you should add the theme directive in the preamble, followed by the name of the theme, to activate it the theme. You can find the theme name at the start of the CSS file, indicated by the @theme theme-name label.
Use my custom theme
Download and activate the theme
I have created a minimal theme that you can use in your presentations. You can download the CSS file from here and add the following preamble to your Markdown file:
| |
This preamble indicates that the pages have page number indicators and a slide is created each time a H2 heading (##) is declared. Additionally, the title of the presentation is shown in each slide.
The explanation of how to create a custom theme is out of the scope of this post, but you can find more information about it here. If you are really interested in creating your own theme, please let me know in the comments and I will write a post about it.
Add a logo
The theme also admits the use of a logo. It is added to the presentation by pasting a PNG named logo.png in the same directory as the Markdown file. The default logo can be downloaded from here.
The logo will be displayed in the top left corner of the slides. You may need to adjust the position of the header if the logo aspect ratio is different from the default one.
Custom classes
In addition to the built-in classes, you can create custom classes to apply to the slides. If you want to apply a custom class globally, you can add the class directive in the preamble, followed by the name of the class. Otherwise, you can add the _class directive in the slide you want to apply the class to.
In my theme’s CSS file, I have defined some custom classes to invert the color scheme and to create columns. Here you can find two examples:
To invert the color scheme, use the
_class: invertdirective.1 2 3## Slide 1 <!-- _class: invert --> This slide's background is black and the text is white.To create two columns, use the
_class: col2directive. You can create up to 4 columns by usingcol3andcol4. Each column is separated by a H3 heading (###).1 2 3 4 5 6## Slide 2 <!-- _class: col2 --> ### Column 1 This slide... ### Column 2 ...is divided into two columns.
Example
As an example, I have recreated this post using my custom theme. You can find the source code here. The result is shown below:
Conclusion
If you have reached this point, you are ready to start creating beautiful presentations with Marp. Enjoy! 🚀
